It is challenging for almost all IT organizations of large enterprise to maintain and streamline system aligned with business requirement as they have developed quite a number of applications in past few years. as a result, the IT landscape carries a lot of applications that are sufficiently not tuned up with the business requirement and may not be utilize the best technologies available.
This causes IT department not to server right business need and not to be the cost effective in comparative market.
I recommended the IT organization to plan for the future in proactive manner and review the plan execution to maintain application portfolio in a manner suitable for business requirement.
Well plan application portfolio by and IT organization can generate good revenue with cost effectively.
Keep IT system smart with better capacity Mangement
| Fail over scenarios Vs Test Result: |
| Scenario – 1 | Physical server failure(FT Configuration Test) |
| Purpose of Test | To check when Active physical server fails, the application should be run without interruption of any services.
(Provides cost effective, automated OS instant migration within second in the event of hardware or operating system failures) |
| Expected Response Time: | 2 seconds |
| Actual RTO | 1 second |
| Detailed Scope of Test | – Test FT fail our
– Auto start Virtual machine from secondary host – There is no need to change anything, migration will done auto. |
| Resources Required for Test | – System and Network Administrator |
| What went well | – As expected Virtual machine was started from the passive(secondary host) server successfully and actual response time was less than the expected response time |
| What could be improved | |
| What failed (if any) | |
Step-01: Virtual machine (192.168.10.55) is up.
Step-2 – 02: Physical host details where server virtual machine is resided.
As showing in screen 02, server virtual machine is hosted on physical host (192.168.10.30)
Step -03: Start FT Test failover
Step-04: Virtual machine is going on.
Step -05: Migration completed successfully without disruption of services and server is resided on secondary physical server (192.168.10.25)
step-06: user session has not expired while server migration process.
May be genuine connection error, so check this using:
vmkping
between the hosts
If this is all fine, it may be just a leftover from a previous issue, which is now resolved. The error may go if you restart the management services on the affected host using:
services.sh restart
Troubleshooting vSphere HA Admission Control
vCenter Server uses admission control to ensure that sufficient resources in a vSphere HA cluster are
Reserved for virtual machine recovery in the event of host failure. If vSphere HA admission control does not function properly, there is no assurance that all virtual machines in the cluster can be restarted after a host failure.
Red Cluster Due to Insufficient Fail over Resources
When you use the Host Failures Cluster Tolerates admission control policy, vSphere HA clusters might
Become invalid (red) due to insufficient fail over resources.
Problem
If you select the Host Failures Cluster Tolerates admission control policy and certain problems arise, the
cluster turns red.
Cause
This problem can arise when hosts in the cluster are disconnected, in maintenance mode, not responding, or
Have a vSphere HA error. Disconnected and maintenance mode hosts are typically caused by user action.
Unresponsive or error-possessing hosts usually result from a more serious problem, for example, hosts or
Agents have failed or a networking problem exists.
Another possible cause of this problem is if your cluster contains any virtual machines that have much
Larger memory or CPU reservations than the others. The Host Failures Cluster Tolerates admission control
Policy is based on the calculation on a slot size consisting of two components, the CPU and memory
Reservations of a virtual machine. If the calculation of this slot size is skewed by outlier virtual machines, the
Admission control policy can become too restrictive and result in a red cluster.
VMware, Inc. 37
Solution
Check that all hosts in the cluster are healthy, that is, connected, not in maintenance mode and free of
vSphere HA errors. vSphere HA admission control only considers resources from healthy hosts.
Unable to Power On Virtual Machine Due to Insufficient Failover Resources
You might get a not enough failover resources fault when trying to power on a virtual machine in a
vSphere HA cluster.
Problem
If you select the Host Failures Cluster Tolerates admission control policy and certain problems arise, you
Might be prevented from powering on a virtual machine due to insufficient resources.
Cause
This problem can have several causes.
n Hosts in the cluster are disconnected, in maintenance mode, not responding, or have a vSphere HA
Error.
Disconnected and maintenance mode hosts are typically caused by user action. Unresponsive or error possessing hosts usually result from a more serious problem, for example, hosts or agents have failed or
a networking problem exists).
n Cluster contains virtual machines that have much larger memory or CPU reservations than the others.
The Host Failures Cluster Tolerates admission control policy is based on the calculation on a slot size
Comprised of two components, the CPU and memory reservations of a virtual machine. If the
Calculation of this slot size is skewed by outlier virtual machines, the admission control policy can
Become too restrictive and result in the inability to power on virtual machines.
No free slots in the cluster.
Problems occur if there are no free slots in the cluster or if powering on a virtual machine causes the slot
size to increase because it has a larger reservation than existing virtual machines. In either case, you
Should use the vSphere HA advanced options to reduce the slot size, use a different admission control
Policy, or modify the policy to tolerate fewer host failures.
Solution
View the Advanced Runtime Infopane that appears in the vSphere HA section of the cluster’s Monitortab
in the vSphere Web Client. This information pane shows the slot size and how many available slots there are
in the cluster. If the slot size appears too high, click on the Resource Allocationtab of the cluster and sort
the virtual machines by reservation to determine which have the largest CPU and memory reservations. If
there are outlier virtual machines with much higher reservations than the others, consider using a different
vSphere HA admission control policy (such as the Percentage of Cluster Resources Reserved admission
control policy) or use the vSphere HA advanced options to place an absolute cap on the slot size. Both
VMware vSphere FT Configuration
Image depicting the Network configuration.

2. Turning on FT.

3. 54% through setting up FT.

4. FT setup complete.

5. vLockstep Interval and Log Bandwidth information are now updated.

6. Primary VM is located on 10.10.10.146.

7. Secondary VM is running on the Secondary Host- 10.10.10.145.

8. Testing FT using the built in Test Failover command.

9. Failover test completes. Notice that 10.10.10.146 has become the secondary location.

10. After the Failover Test, the primary host server is now 10.10.10.145 and the primary VM is running on it.

11. Furthermore, after the Failover Test, the secondary VM runs on the secondary host server, 10.10.10.146.

12. Failover test completion will result in showing the primary VM on the new primary host server and the new secondary host server with the accompanying vLockstep Interval and Log Bandwidth.
13. Finally, VMware vSphere FT is ready to provide continuous protection to your VMs.
Infrastructure setup
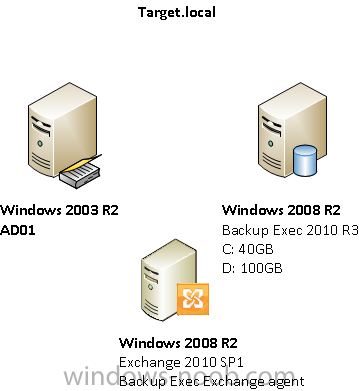
This guide is not a best practice guide in any way, it should be treated as an example on how it can be done.
I’m going to use the GRT feature with Backup Exec (BE) to being able to recover individual items etc.
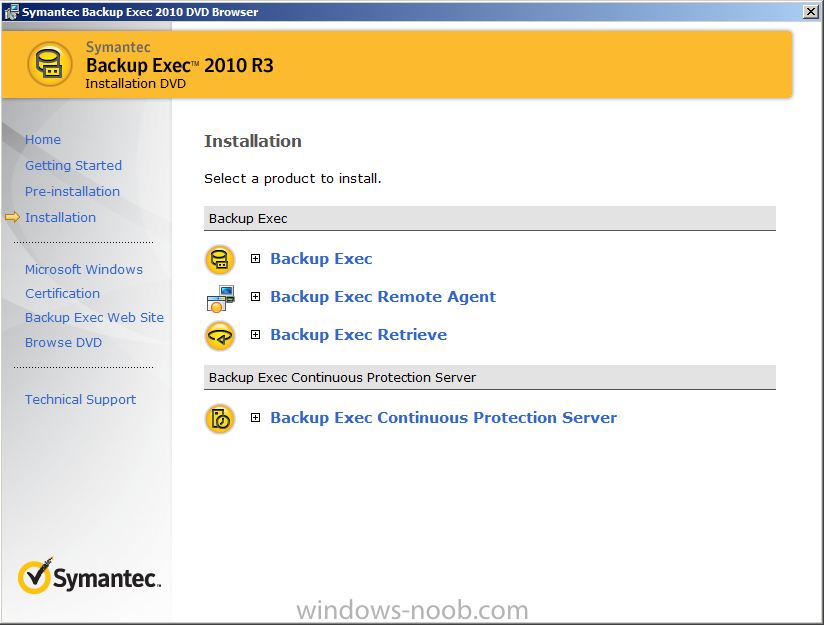
Installation of Backup Exec 2010 R3
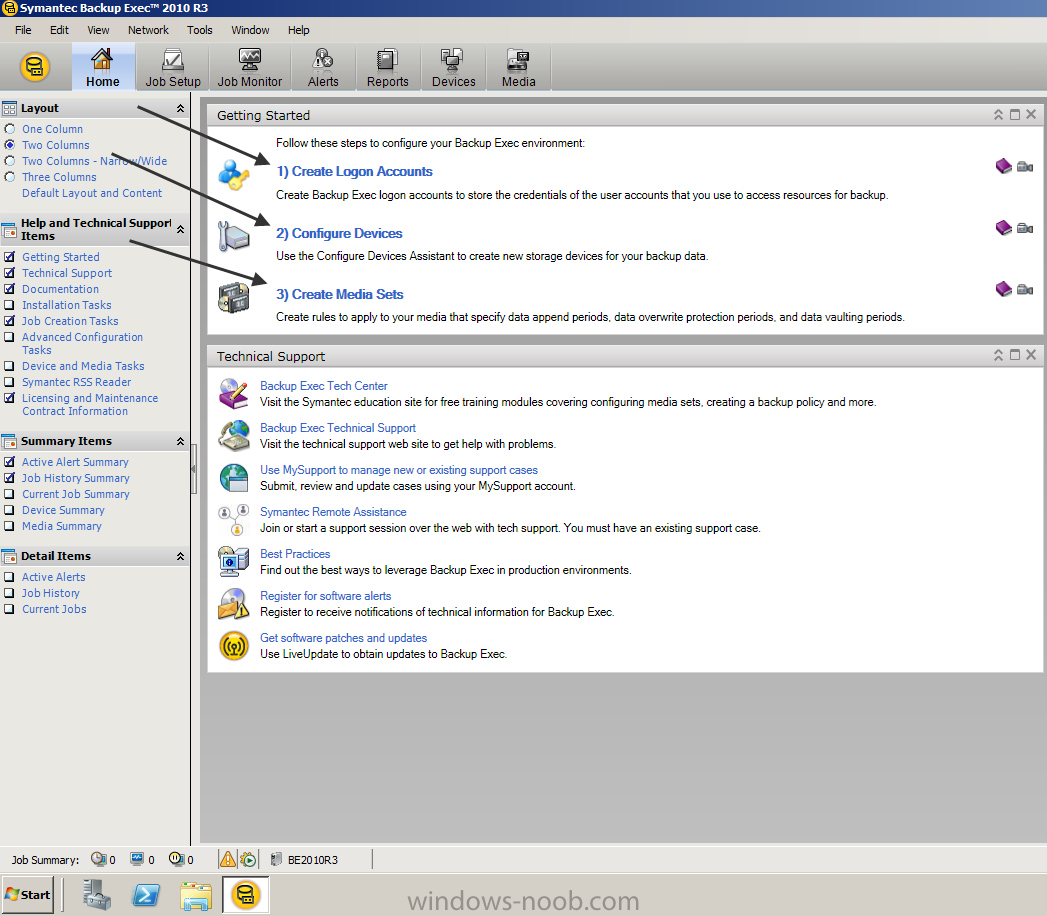
Startup browser.exe and select Installation and press Backup Exec.
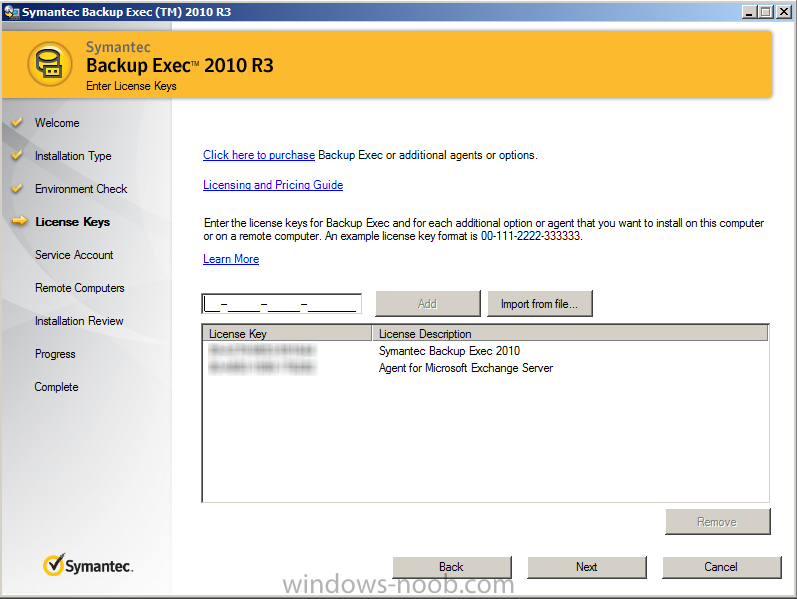
Type in the license keys. Press Next.
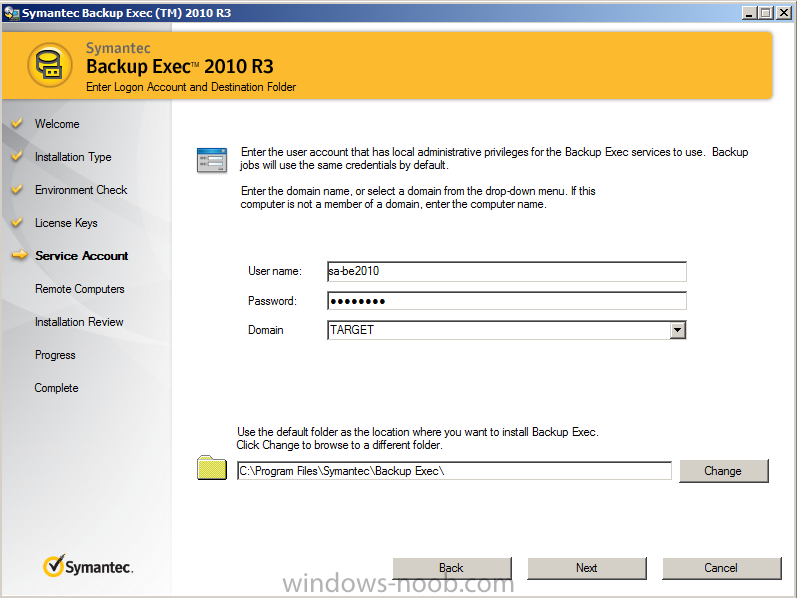
Type in the service account that should be used, in my case “target\SA-BE2010” and password. Press Next.
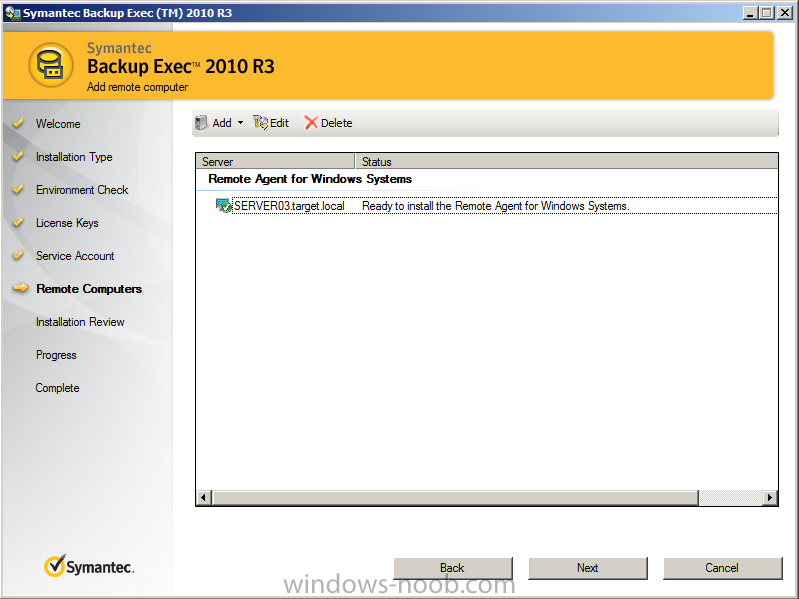
The installation finds my Exchange server and wants to install the remote agent. Press Next.
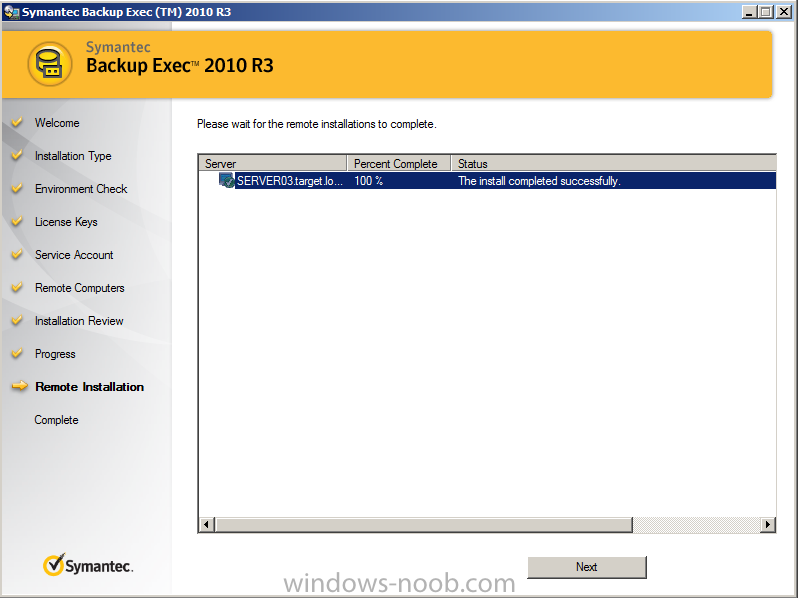
The installation is done. Press Next.
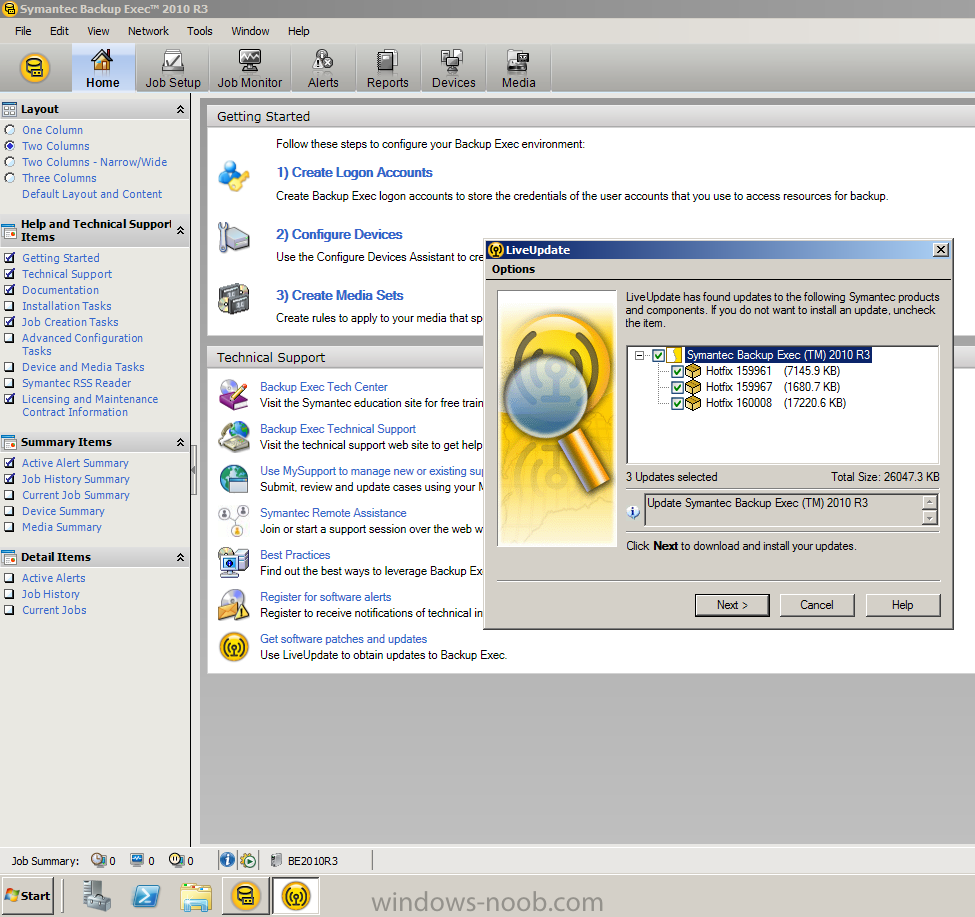
Starting up the Backup Exec console. Press “Get software patches and updates”. Update with the latest hotfixes. Press Next.
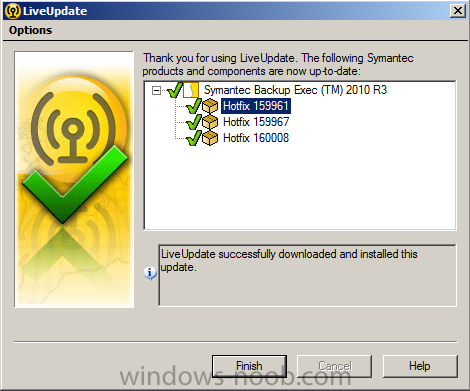
The updates have been installed. Press Finish.
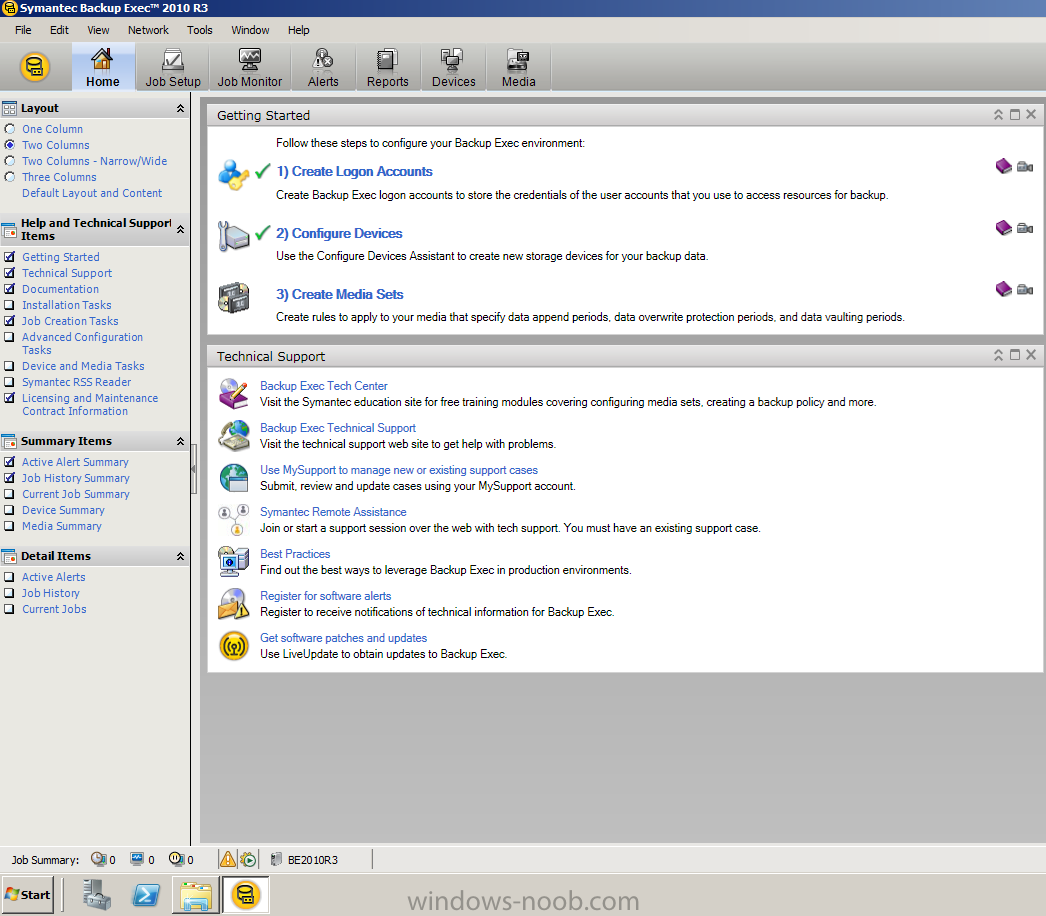
The arrows on the picture are marking the steps that are going to be configured. Start with Create Logon Accounts.
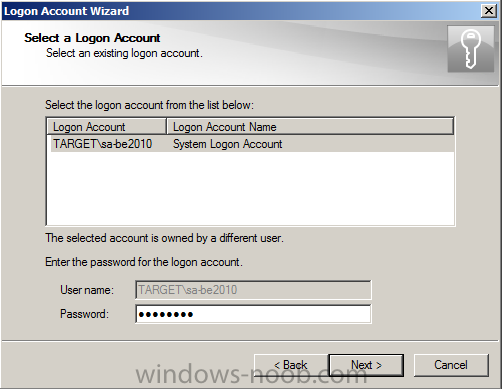
Press Next.

I’m selecting to Edit my account “SA-BE2010” and typing in my password. Press Next.
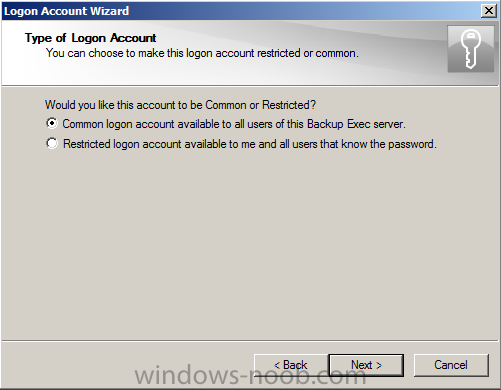
Selecting “Common logon account..”. Press Next.
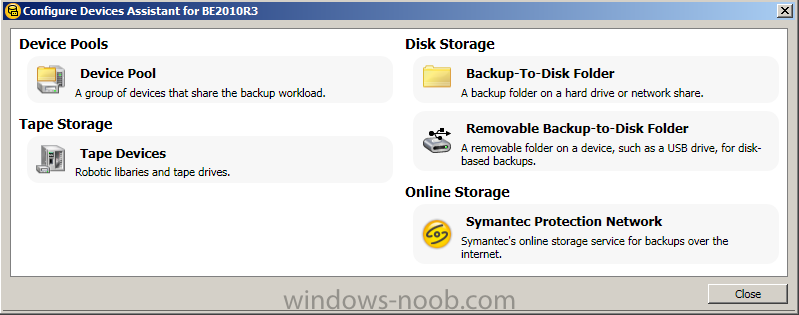
Press “Configure Devices”.
I want to use “Backup-To-Disk Folder” option. Select that one.
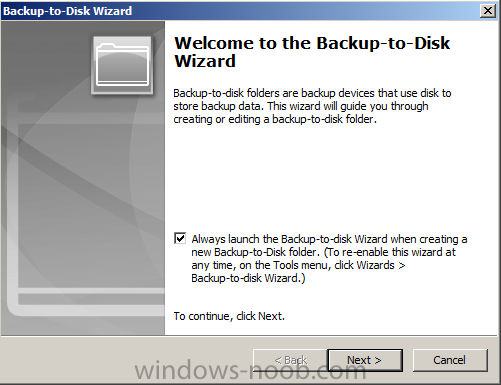
The wizard starts. Press Next.
Give the Folder a name “Backup-To-Disk Folder”. Press Next.

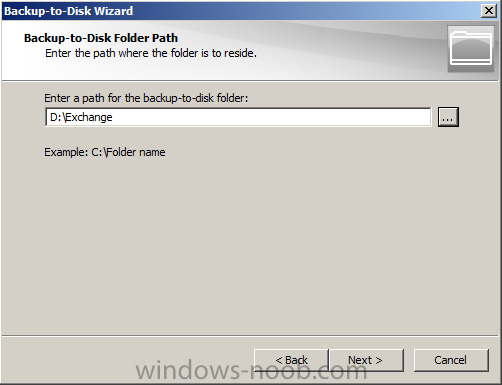
Browse for a folder to save the backups into. Press Next.
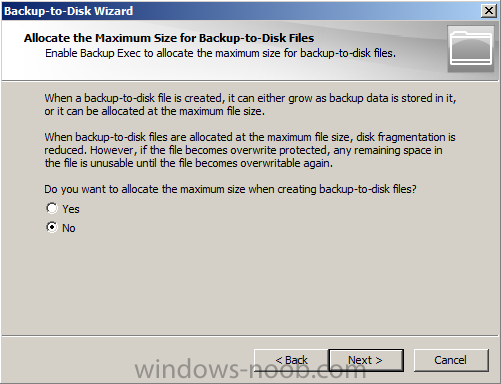
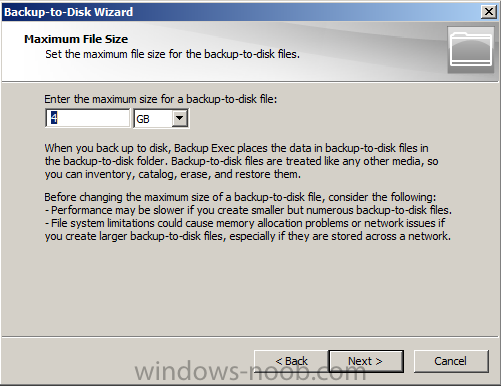
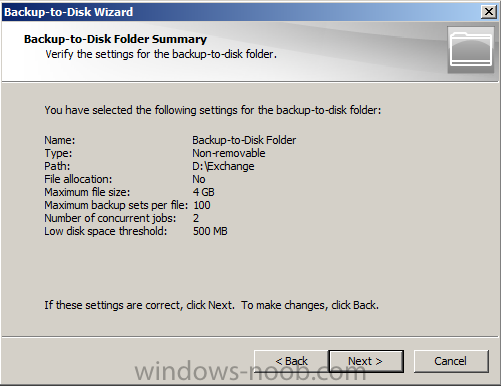
I don’t want to allocate the maximum size right away. Press Next.
Default values are used, 4 GB per backup-to-disk file. Press Next.
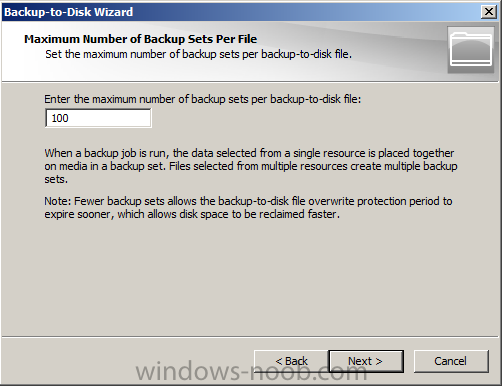
Default values are used, 100 backup sets per backup-to-disk file. Press Next.
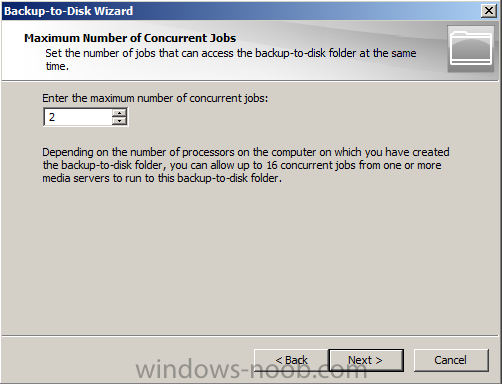
Maximum of 2 concurrent jobs. Press Next.
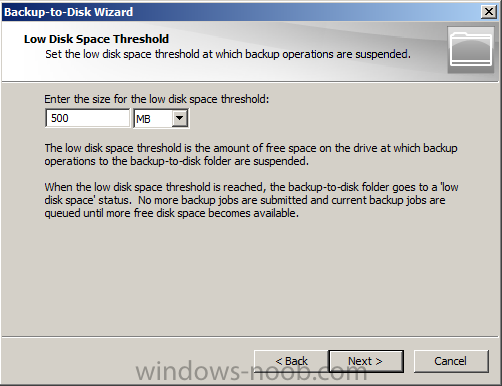
The disk space threshold is set to 500 MB. Press Next.
A summary is shown. Press Next.
Press Finish.

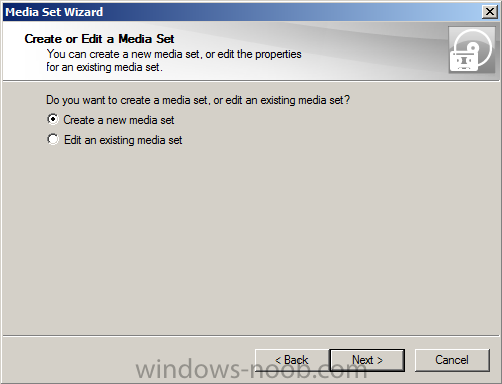
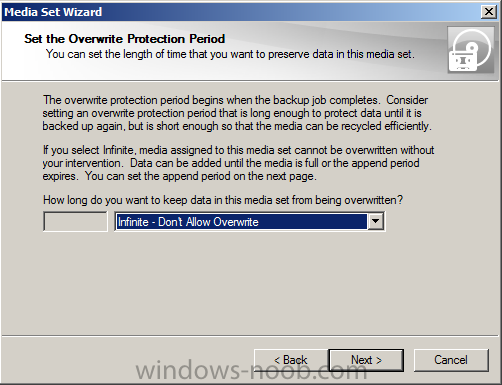
Select “Create Media Sets”.
Since this is the first time, we want to create a new media set. Press Next.
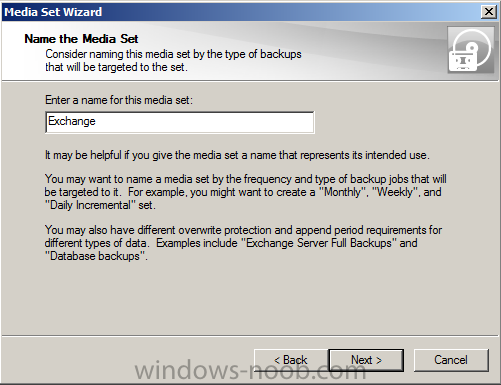
The media set is given the name “Exchange”. Press Next.
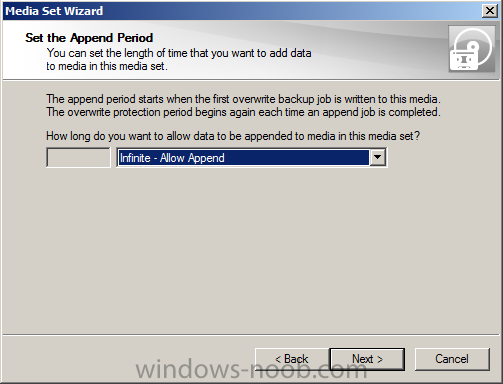
Default values are used. Press Next.
Default values are used. Press Next.
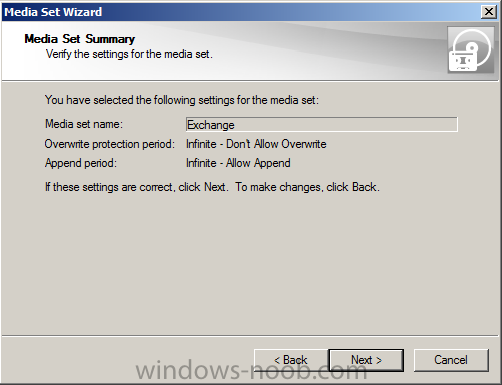
A Summary is shown. Press Next.
Press Finish.
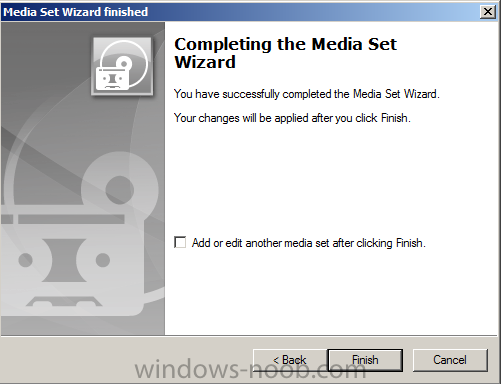
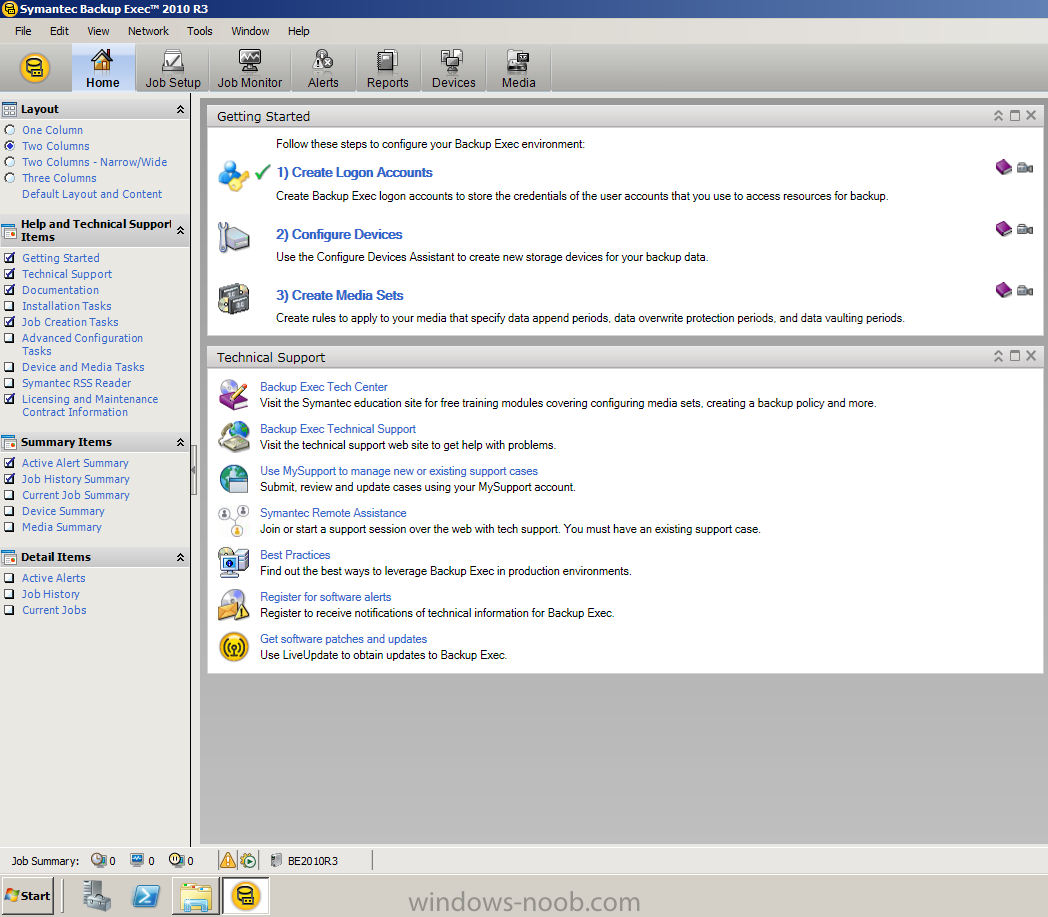
The 3 “Getting started” tasks are now completed.

Service Account
Before the installation started I was creating an account named “SA-BE2010” and it’s a member of “Domain Admins” and “Organization Management”.
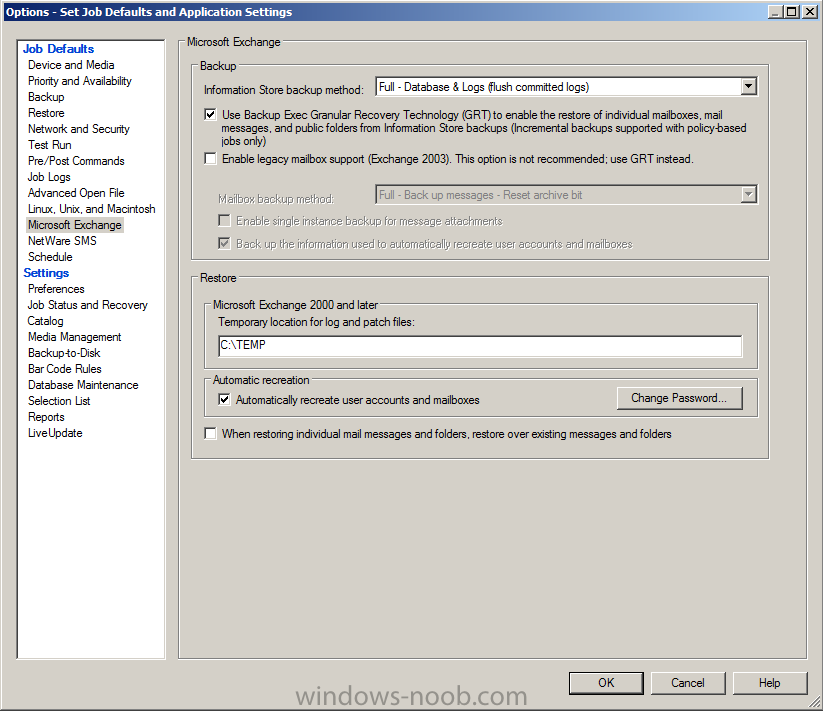
Restore options
Go to Tools -> Options -> Microsoft Exchange. Put a checkbox in “Automatically recreate user accounts and mailboxes”,
set a default password by pressing “Change Password..”. Then press OK.
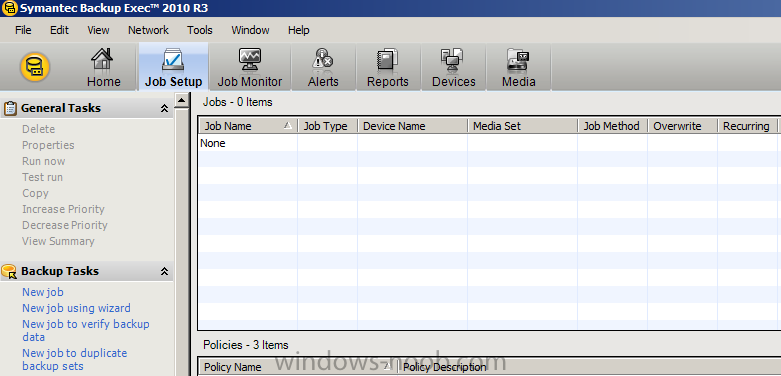
Create the backup job
Select “Job Setup” and on the left side press “New job using wizard”.
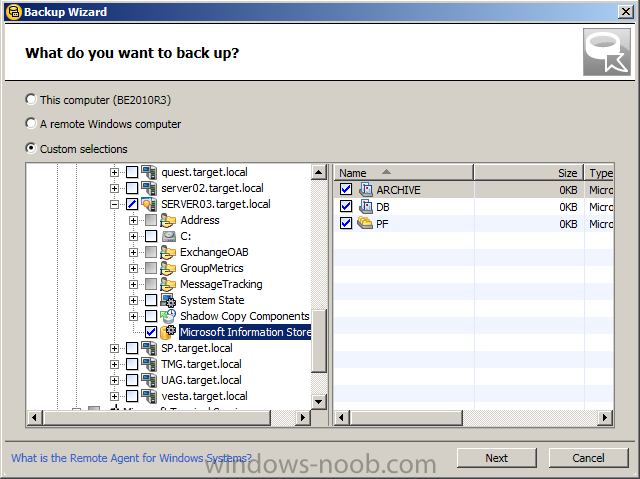
Selecting Custom and browsing for “Server03.target.local” which is my Exchange server.
Choosing the Microsoft Information Store and check the databases to the right. Press Next.
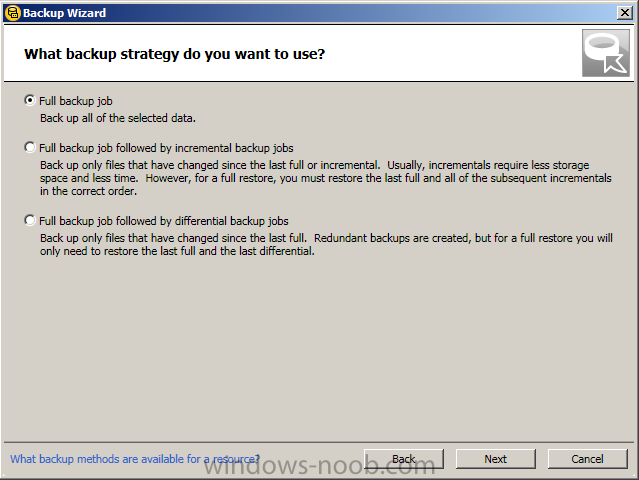
The backup method that’s used is “Full backup job”. Press Next.
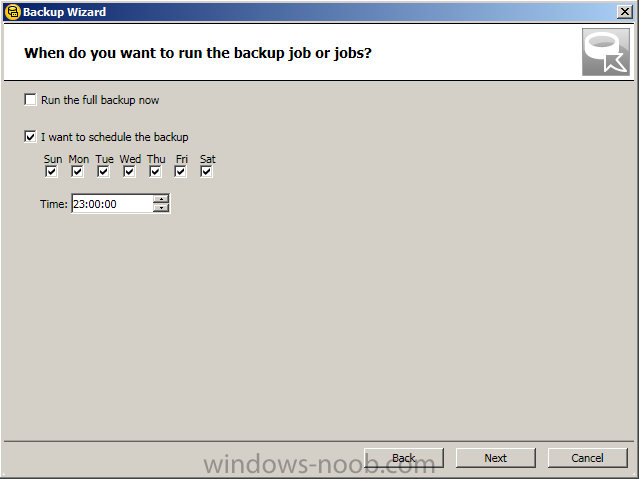
I want to run the backup schedule; every day at 23.00 (11.00 PM). Press Next.
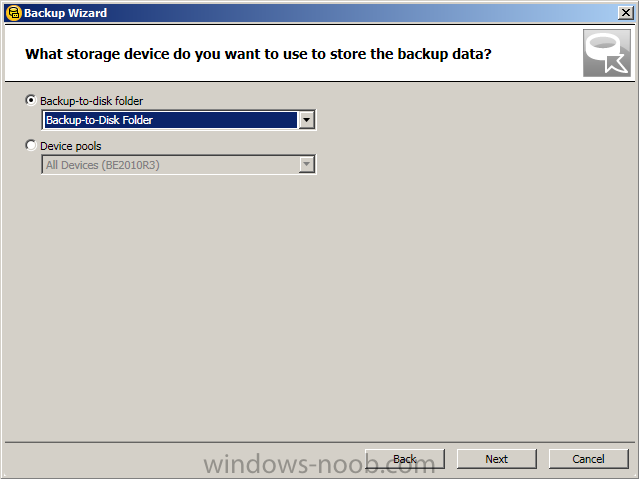
Select “Backup-to-disk folder” and selecting the “device” we created in earlier setup. Press Next.
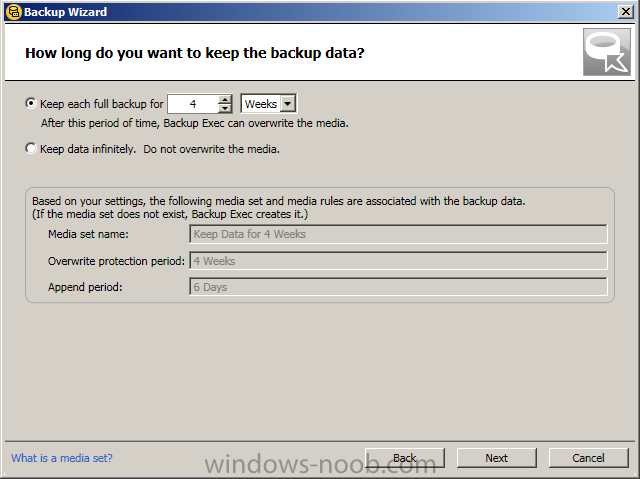
Keeping the default values. Press Next.
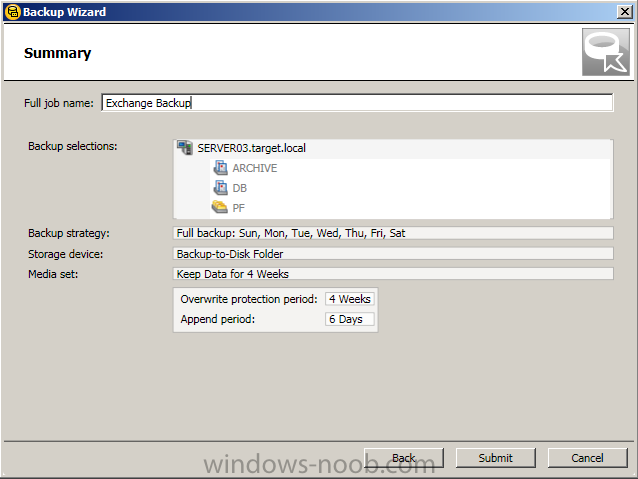
Summary view. Press Submit.
Verification of the backup job
Starting the backup job manually and open it up.
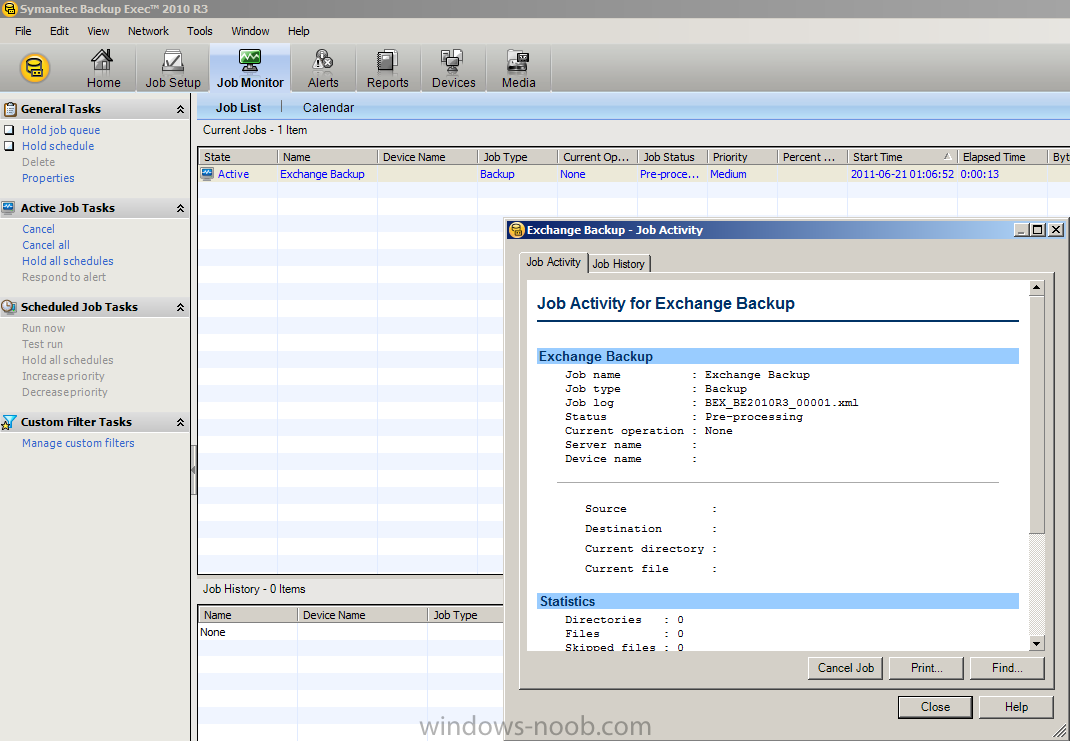
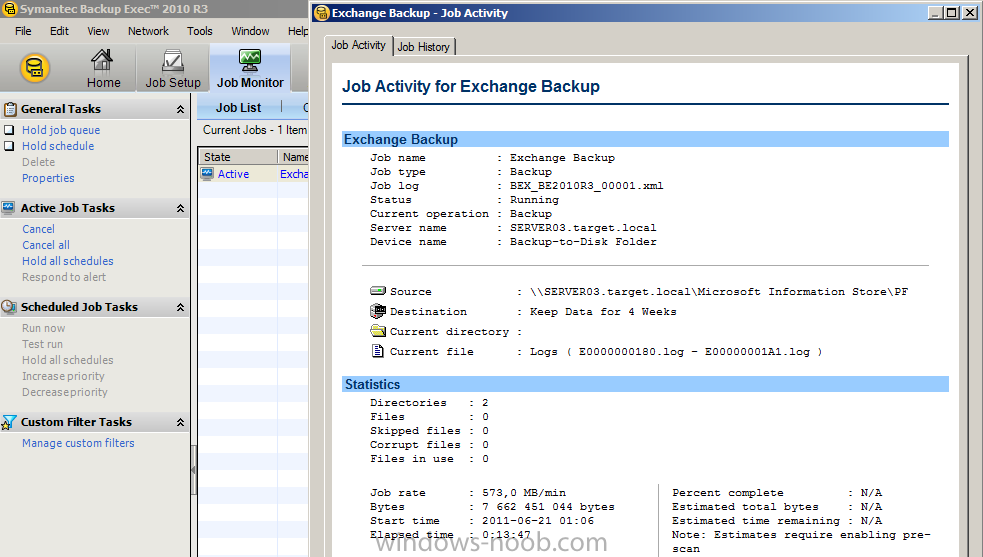
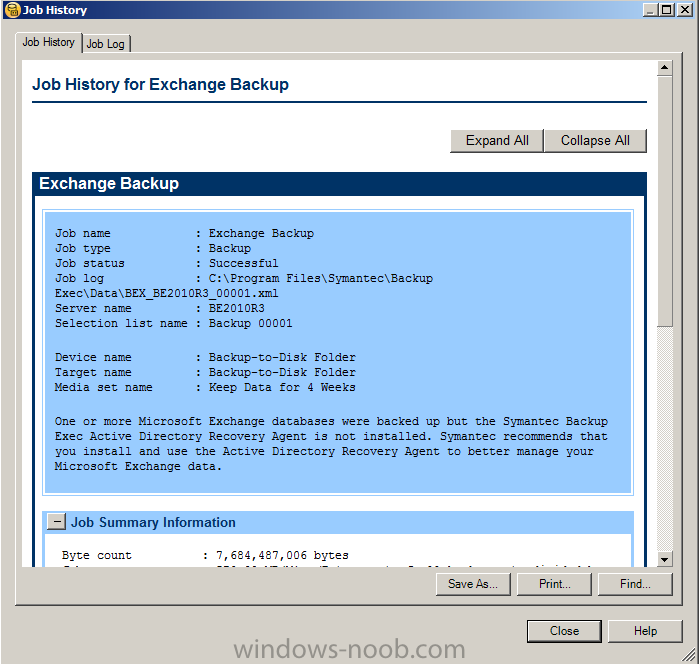
A summary of the backup job.
This blogpost is also published at:
http://www.testlabs….p-exec-2010-r3/
truth v/s hype “Still Vmware don’t have any solution for ensure 100% up time for any enterprise application”
Unfortunately still don’t have any solution for ensure 100 % up time for mission critical application.I
Ideally two are the basic solution, which we can purpose in Vmware environment, we can configure HA for VMs, if primary host(where Currently VMs are resided) goes down, all Vms will migrate to another host (If another host have enough reserve resource)
and will restart all Vms on this host.
It will consider Minimum 5 mins Downtime (Fail to server 100 Up time)
Second option is FT, we can purpose to FT solution, FT facility are supporting to limited only Processor, if your processor are supported then you can assign single processor CPU for virtual machine.
“If you have enterprise application and you expecting 1000 concurrent session then you can face performance issues”
This solution are not probably 100 good.
Third solution is “Vmware Vcenter Site recovery Manager” this also good solution but it also consider few mins downtime and little bit expansive solution for mid size organization.
Details
Solution
If you are using a wide-area or low-bandwidth connection, the time delay over the network may be long enough to cause the virtual machine to start auto-repeat.
To reduce these effects, increase the time threshold necessary for auto-repeat in the remote console.
- Power off the virtual machine.
- Add a line, similar to this, at the end of your virtual machine’s configuration (.vmx) file:
keyboard.typematicMinDelay = "2000000"
The delay is specified in micro-seconds, so the line in the example above increases the repeat time to 2 seconds. This should ensure that you never get auto-repeat unless you intend it.
- Power on the virtual machine.
To make the changes using the vSphere Client:
- Power off the virtual machine
- Right click virtual machine select Edit Settings
- Click Options > General > Configuration Parameters
- Click Add Row
- Under Name enter keyboard.typematicMinDelay In the Value field 2000000
- Click OK
- Power on the virtual machine
One Silly issues has spoil 2 hours for solution….coincidentally we had installed PRTG Monitoring tool and V Center in same system.
Issue
Solution
VMware vSphere FT Configuration
1. Network configuration.
2. Turning on FT.
3. 54% through setting up FT.
4. FT setup complete.
5. vLockstep Interval and Log Bandwidth information are now updated.
6. Primary VM is located on 10.10.10.146.
7. Secondary VM is running on the Secondary Host- 10.10.10.145.
8. Testing FT using the built in Test Failover command.
9. Failover test completes. Notice that 10.10.10.146 has become the secondary location.
10. After the Failover Test, the primary host server is now 10.10.10.145 and the primary VM is running on it.
11. Furthermore, after the Failover Test, the secondary VM runs on the secondary host server, 10.10.10.146.
12. Failover test completion will result in showing the primary VM on the new primary host server and the new secondary host server with the accompanying vLockstep Interval and Log Bandwidth.
13. Finally, VMware vSphere FT is ready to provide continuous protection to your VMs

Recent Comments