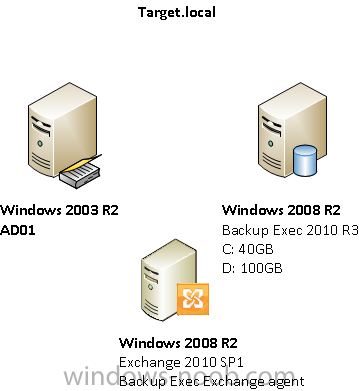
Infrastructure setup

This guide is not a best practice guide in any way, it should be treated as an example on how it can be done.
I’m going to use the GRT feature with Backup Exec (BE) to being able to recover individual items etc.
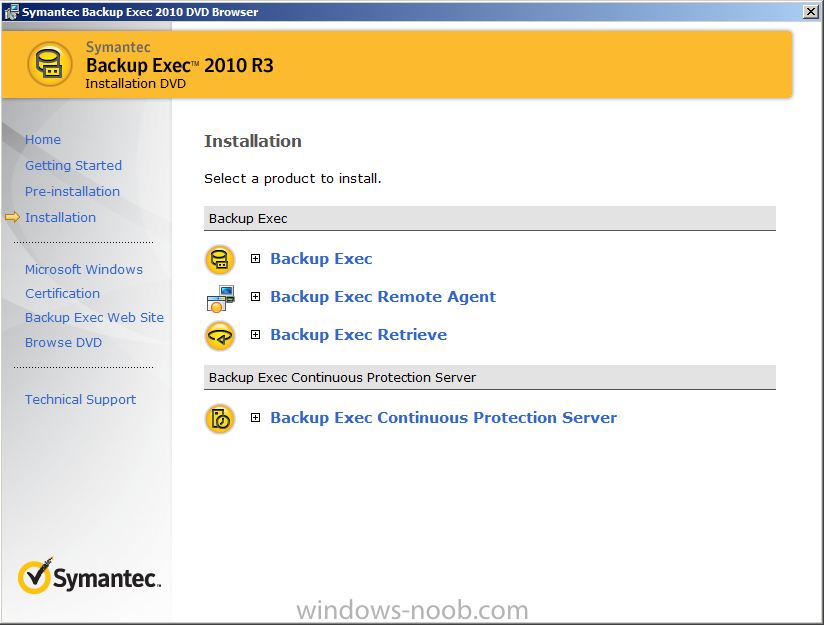
Installation of Backup Exec 2010 R3
Startup browser.exe and select Installation and press Backup Exec.

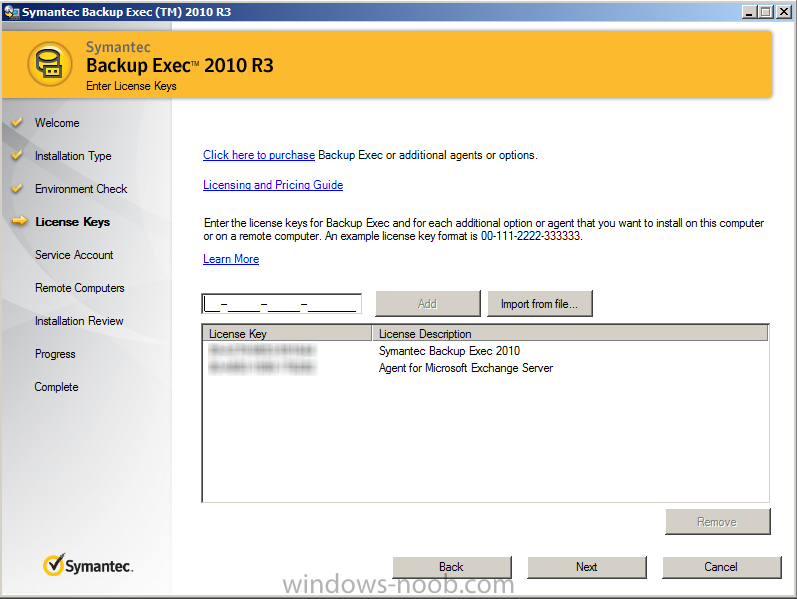
Type in the license keys. Press Next.

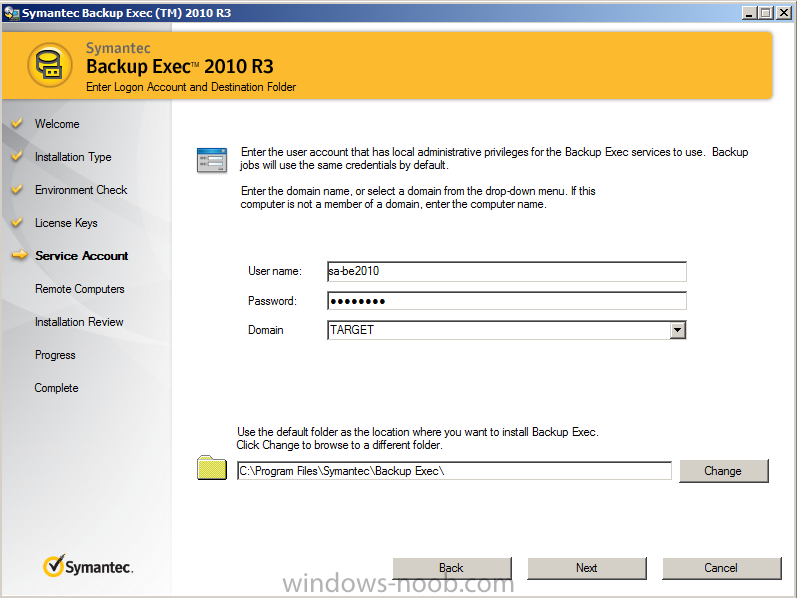
Type in the service account that should be used, in my case “target\SA-BE2010” and password. Press Next.

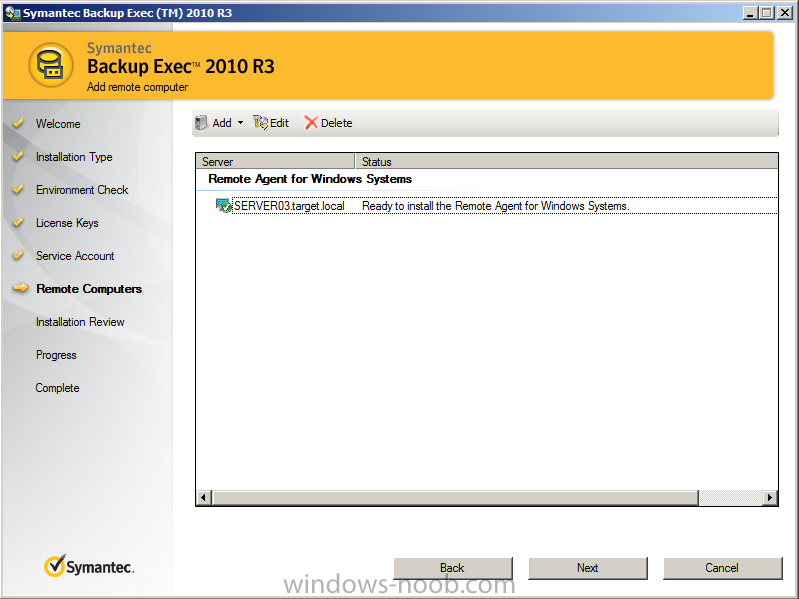
The installation finds my Exchange server and wants to install the remote agent. Press Next.

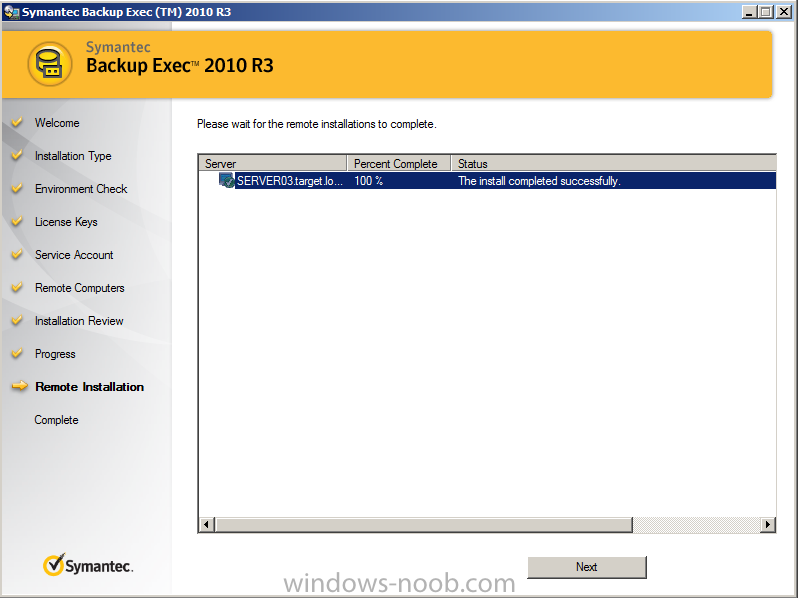
The installation is done. Press Next.

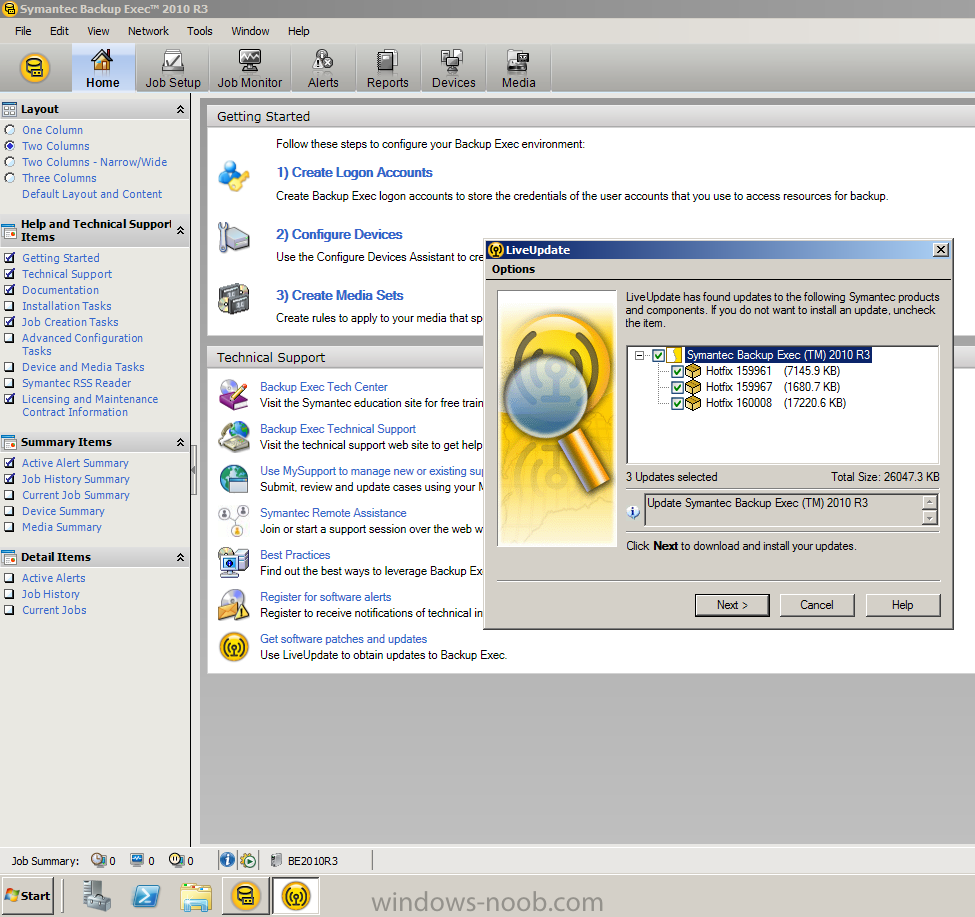
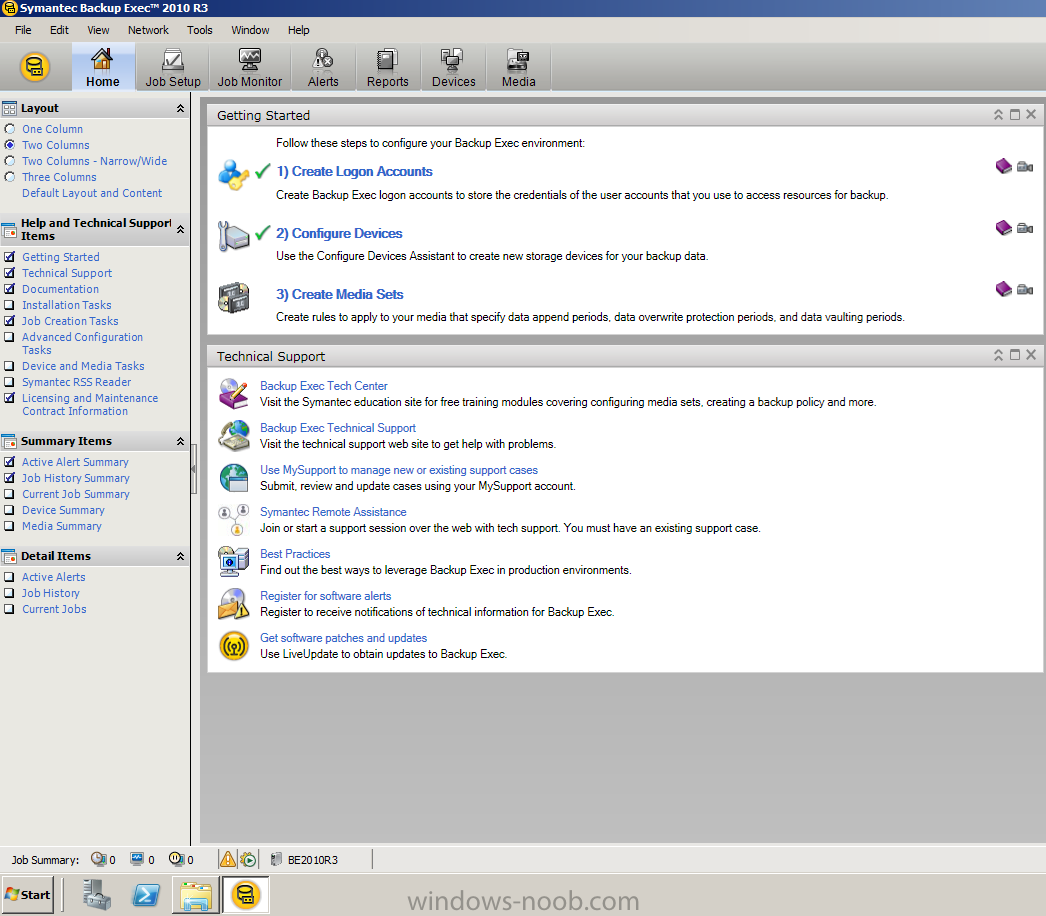
Starting up the Backup Exec console. Press “Get software patches and updates”. Update with the latest hotfixes. Press Next.

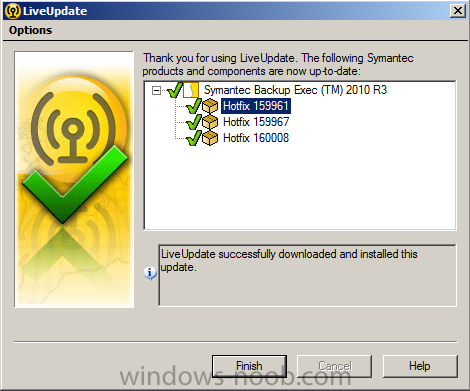
The updates have been installed. Press Finish.

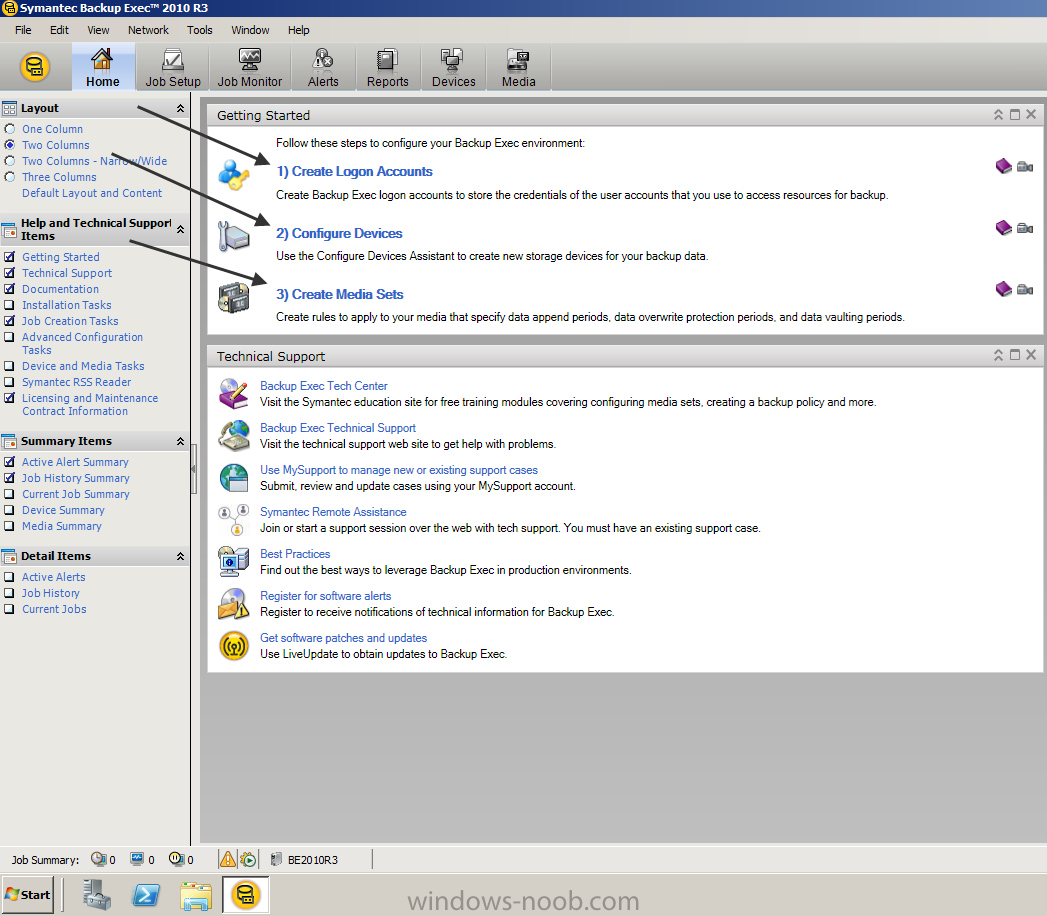
The arrows on the picture are marking the steps that are going to be configured. Start with Create Logon Accounts.

Press Next.

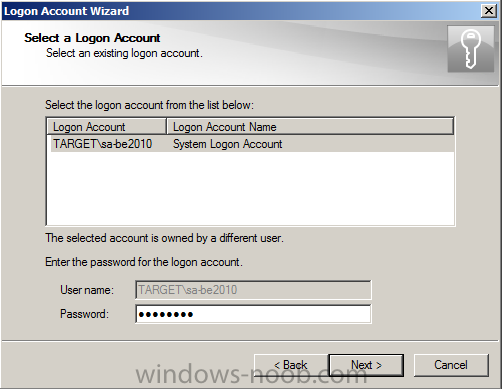
I’m selecting to Edit my account “SA-BE2010” and typing in my password. Press Next.

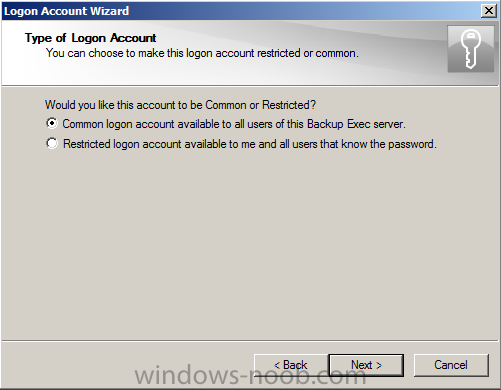
Selecting “Common logon account..”. Press Next.

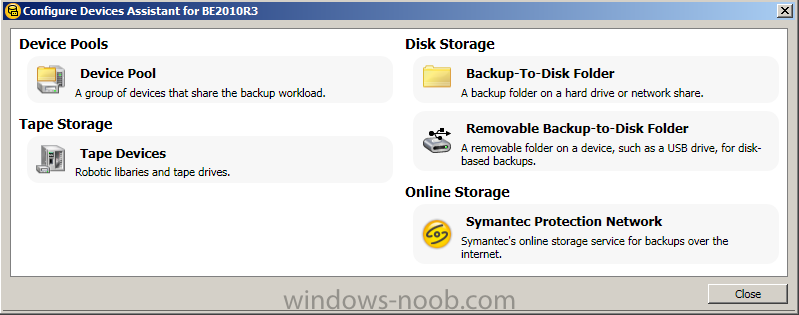
Press “Configure Devices”.

I want to use “Backup-To-Disk Folder” option. Select that one.

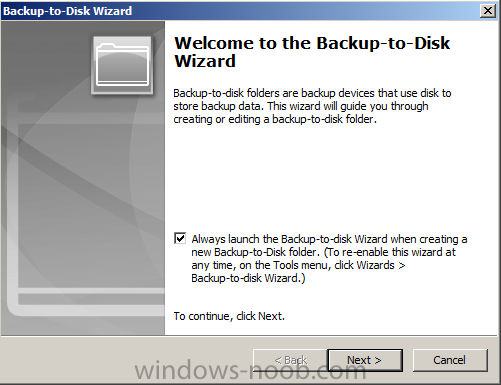
The wizard starts. Press Next.

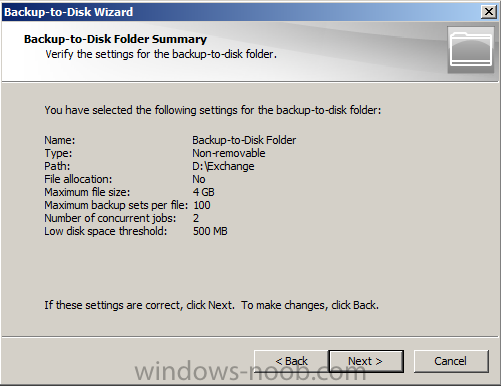
Give the Folder a name “Backup-To-Disk Folder”. Press Next.

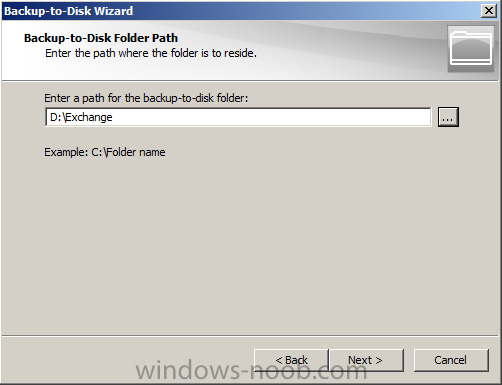
Browse for a folder to save the backups into. Press Next.

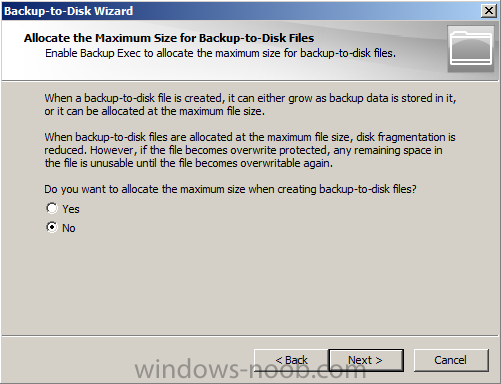
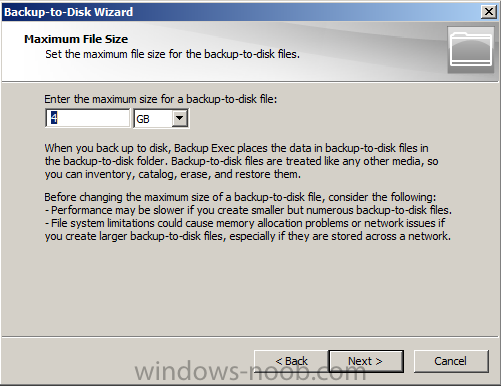
I don’t want to allocate the maximum size right away. Press Next.

Default values are used, 4 GB per backup-to-disk file. Press Next.

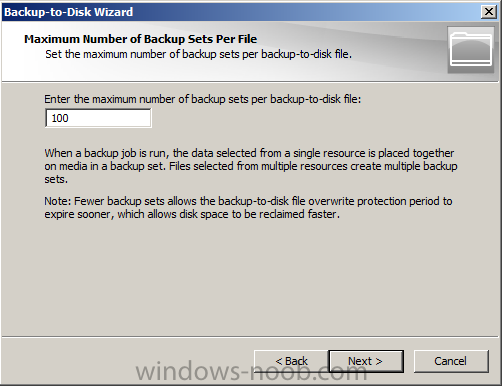
Default values are used, 100 backup sets per backup-to-disk file. Press Next.

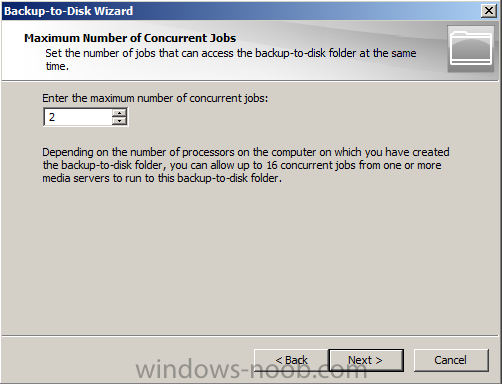
Maximum of 2 concurrent jobs. Press Next.

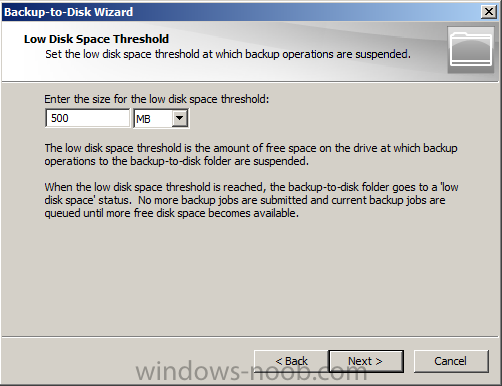
The disk space threshold is set to 500 MB. Press Next.

A summary is shown. Press Next.

Press Finish.

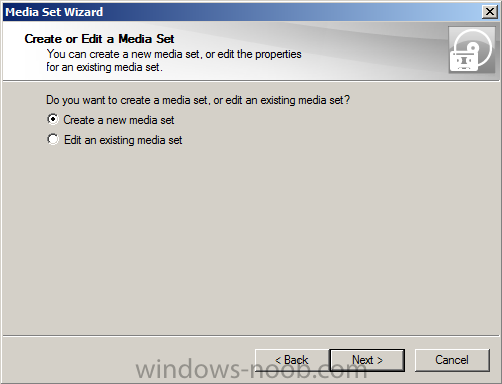
Select “Create Media Sets”.

Since this is the first time, we want to create a new media set. Press Next.

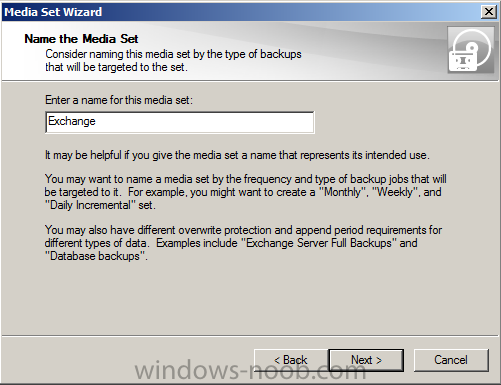
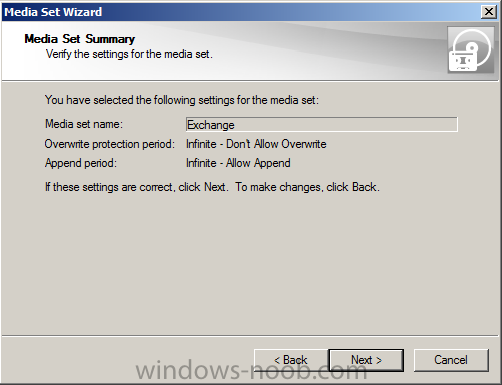
The media set is given the name “Exchange”. Press Next.

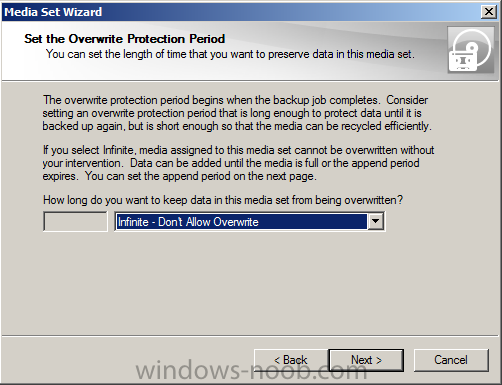
Default values are used. Press Next.

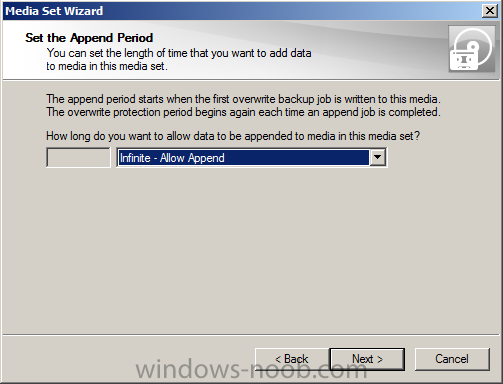
Default values are used. Press Next.

A Summary is shown. Press Next.

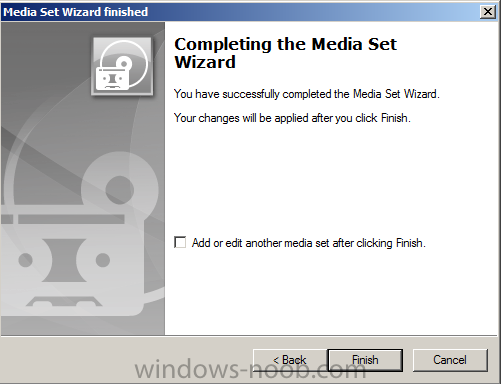
Press Finish.

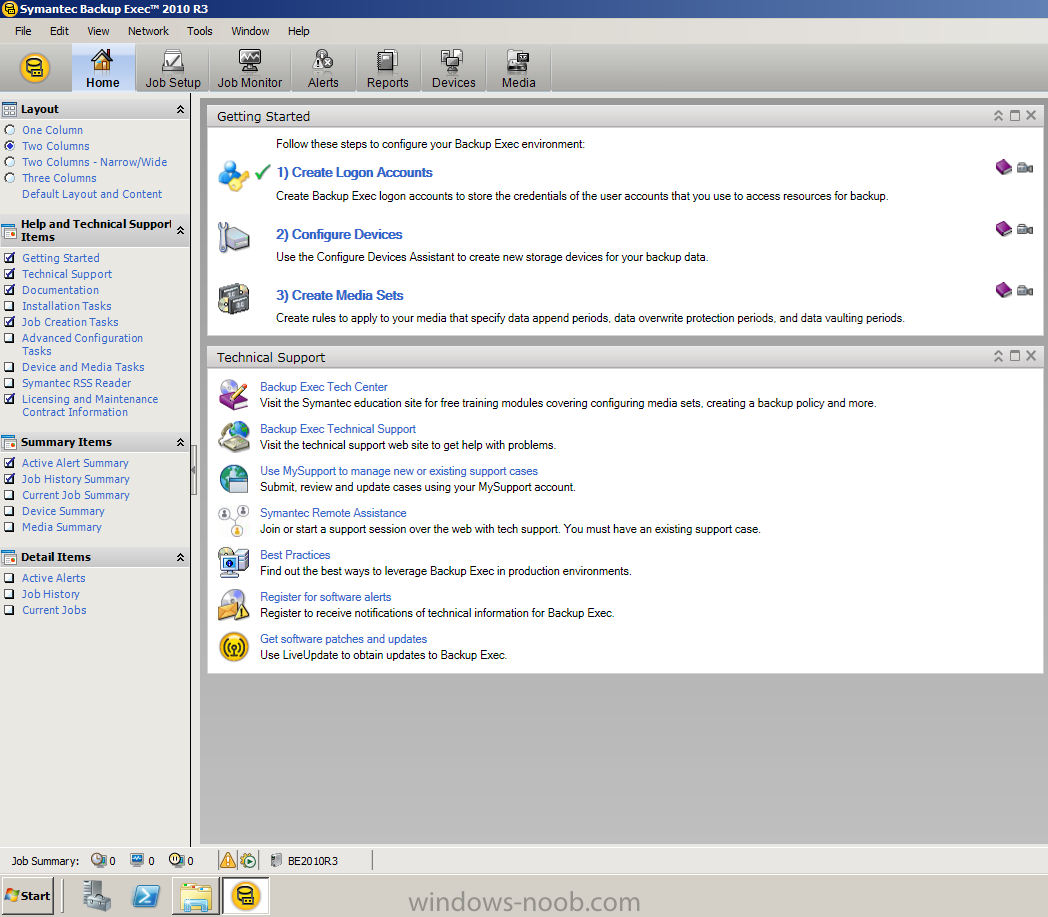
The 3 “Getting started” tasks are now completed.

Service Account
Before the installation started I was creating an account named “SA-BE2010” and it’s a member of “Domain Admins” and “Organization Management”.
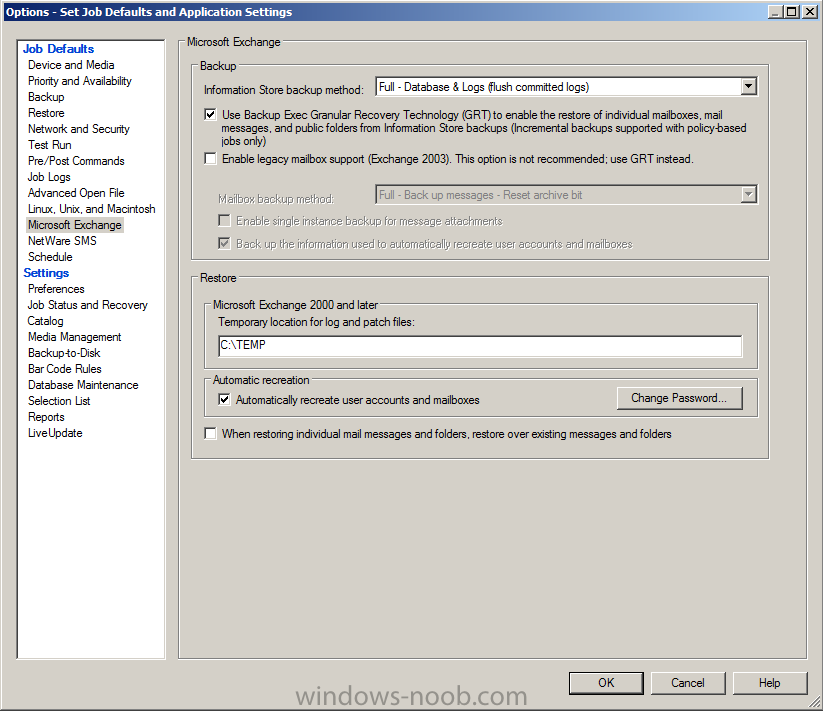
Restore options
Go to Tools -> Options -> Microsoft Exchange. Put a checkbox in “Automatically recreate user accounts and mailboxes”,
set a default password by pressing “Change Password..”. Then press OK.

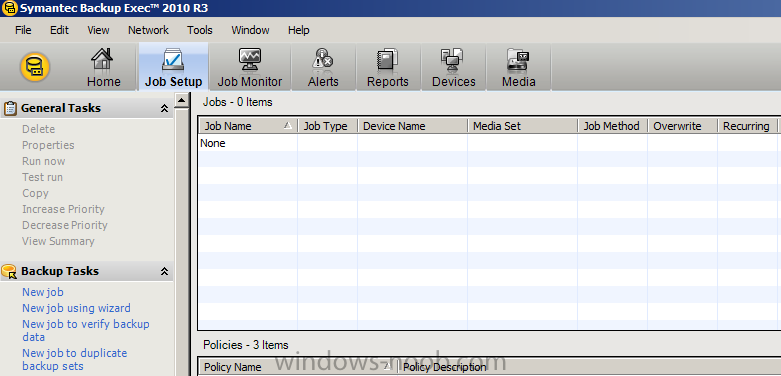
Create the backup job
Select “Job Setup” and on the left side press “New job using wizard”.

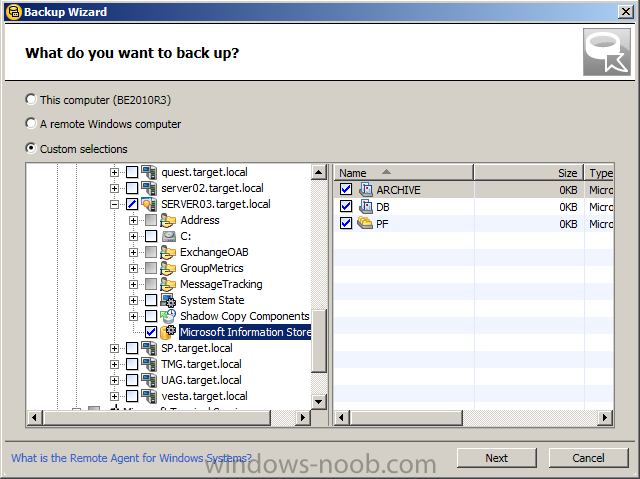
Selecting Custom and browsing for “Server03.target.local” which is my Exchange server.
Choosing the Microsoft Information Store and check the databases to the right. Press Next.

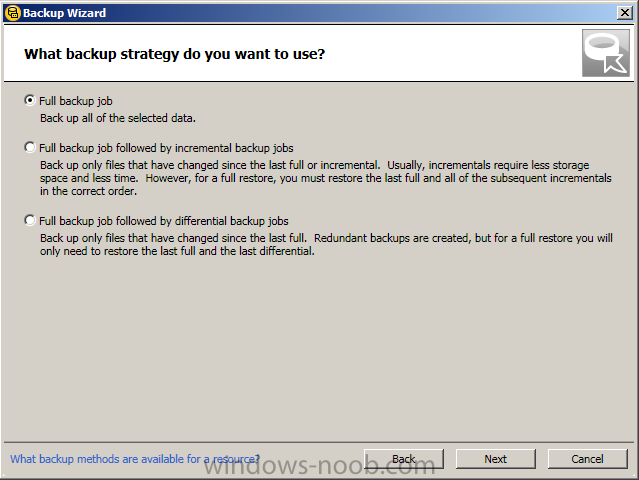
The backup method that’s used is “Full backup job”. Press Next.

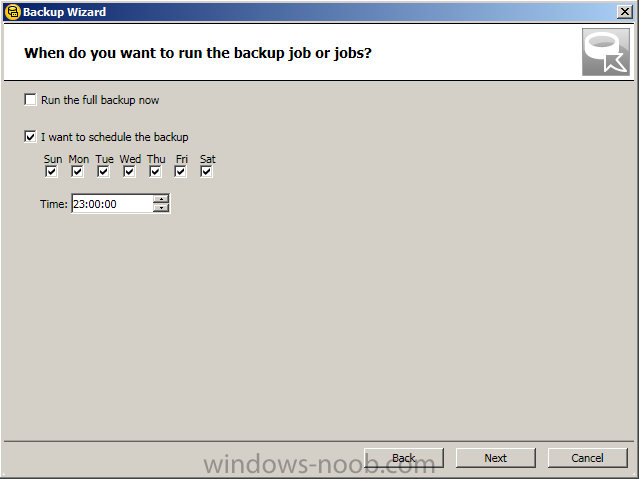
I want to run the backup schedule; every day at 23.00 (11.00 PM). Press Next.

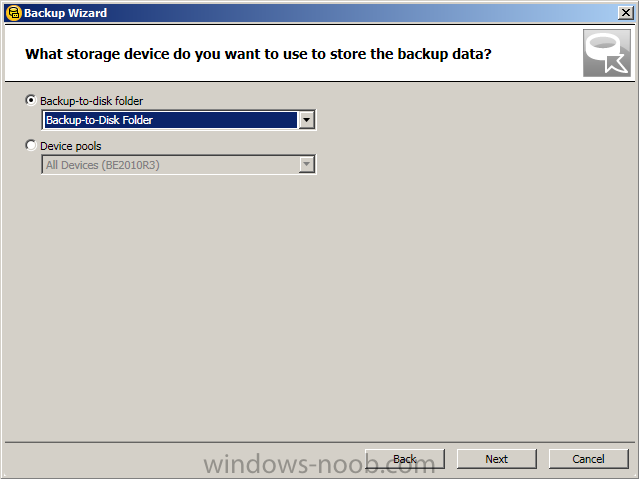
Select “Backup-to-disk folder” and selecting the “device” we created in earlier setup. Press Next.

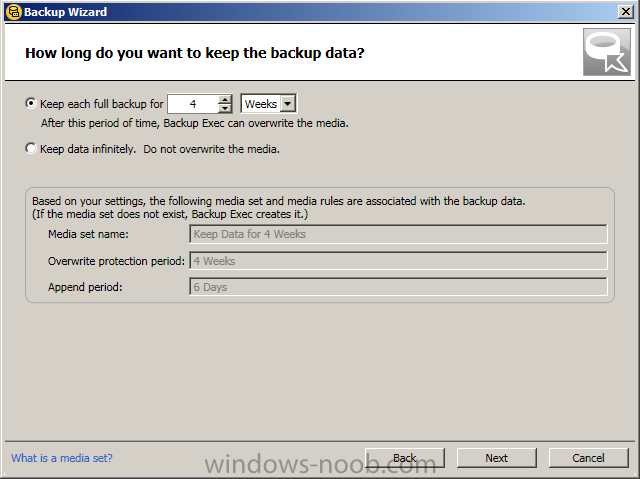
Keeping the default values. Press Next.

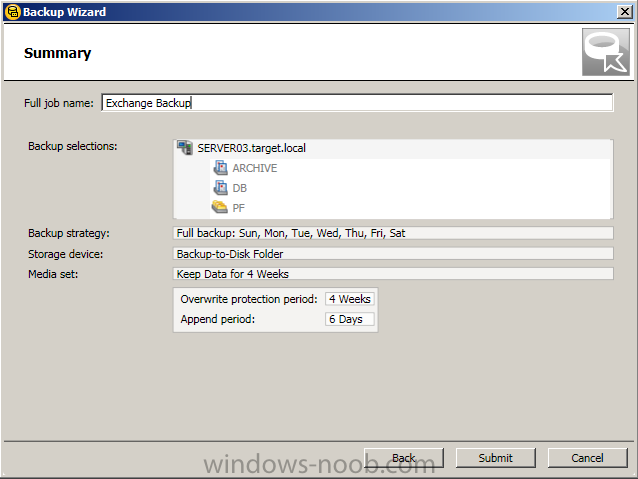
Summary view. Press Submit.

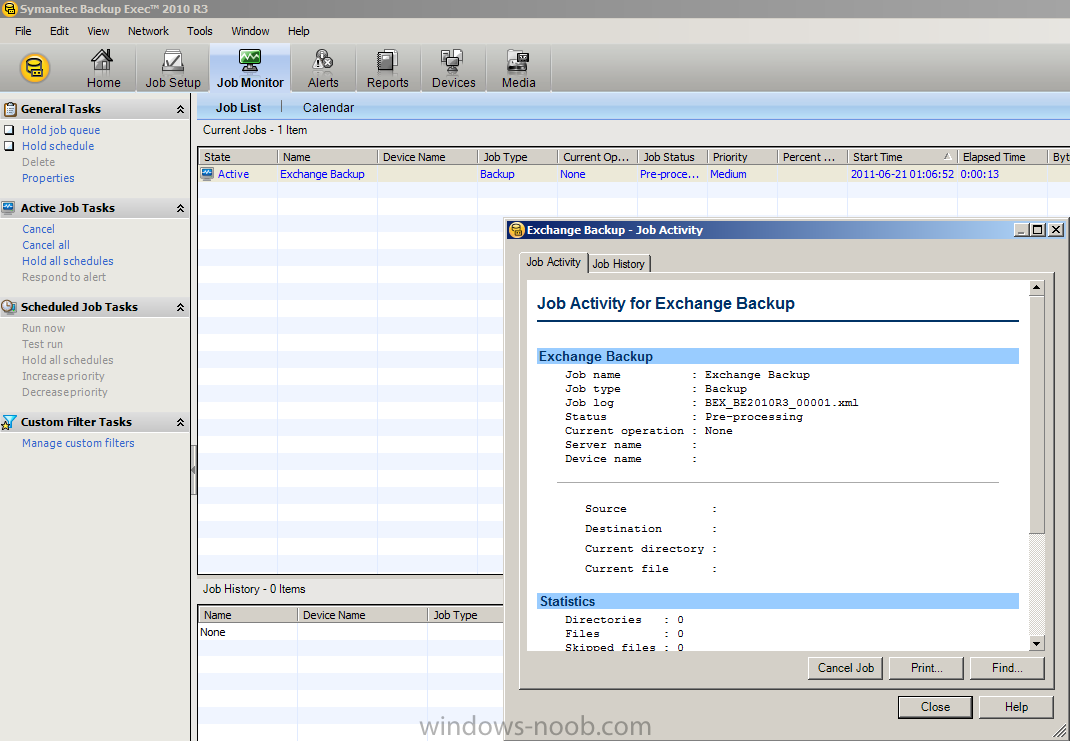
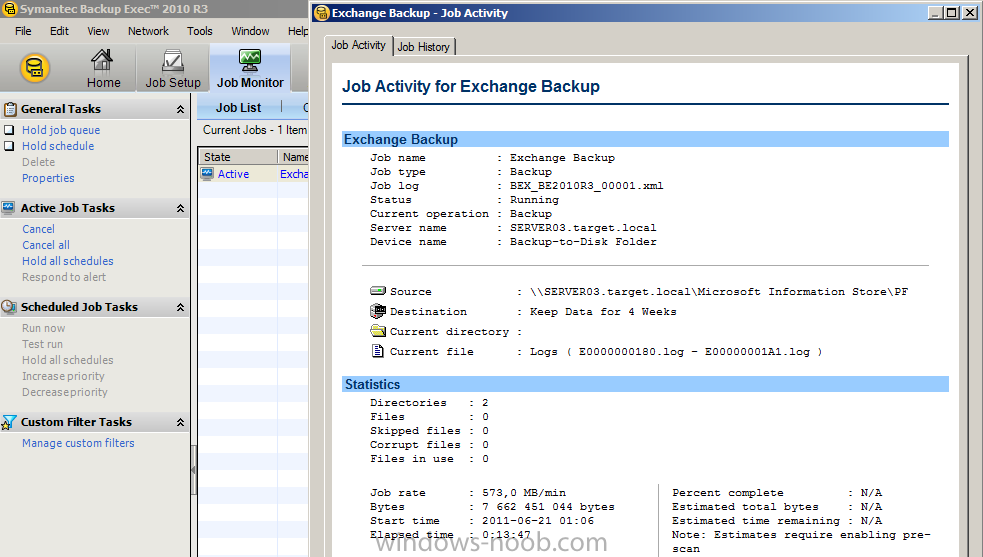
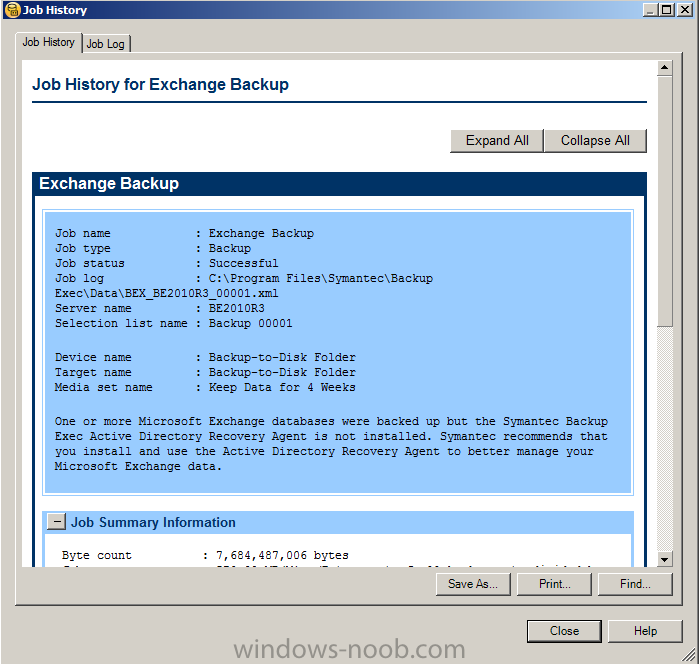
Verification of the backup job
Starting the backup job manually and open it up.


A summary of the backup job.

This blogpost is also published at:
http://www.testlabs….p-exec-2010-r3/


Written
on July 17, 2013